Hello friends and Happy October!
I love this month and will love it even more when the temperatures start to behave.
We got a little teasing last week with some cooler temps but they were short-lived...
...no surprise there!
So since there is really no fall-ish stuff going on here (yet),
here are a few fall photos from the archives so we can at least pretend!

Remember that time when the wind blew a perfectly shaped leaf wreath upon my deck?
I don't either...but it sure was fun pretending.

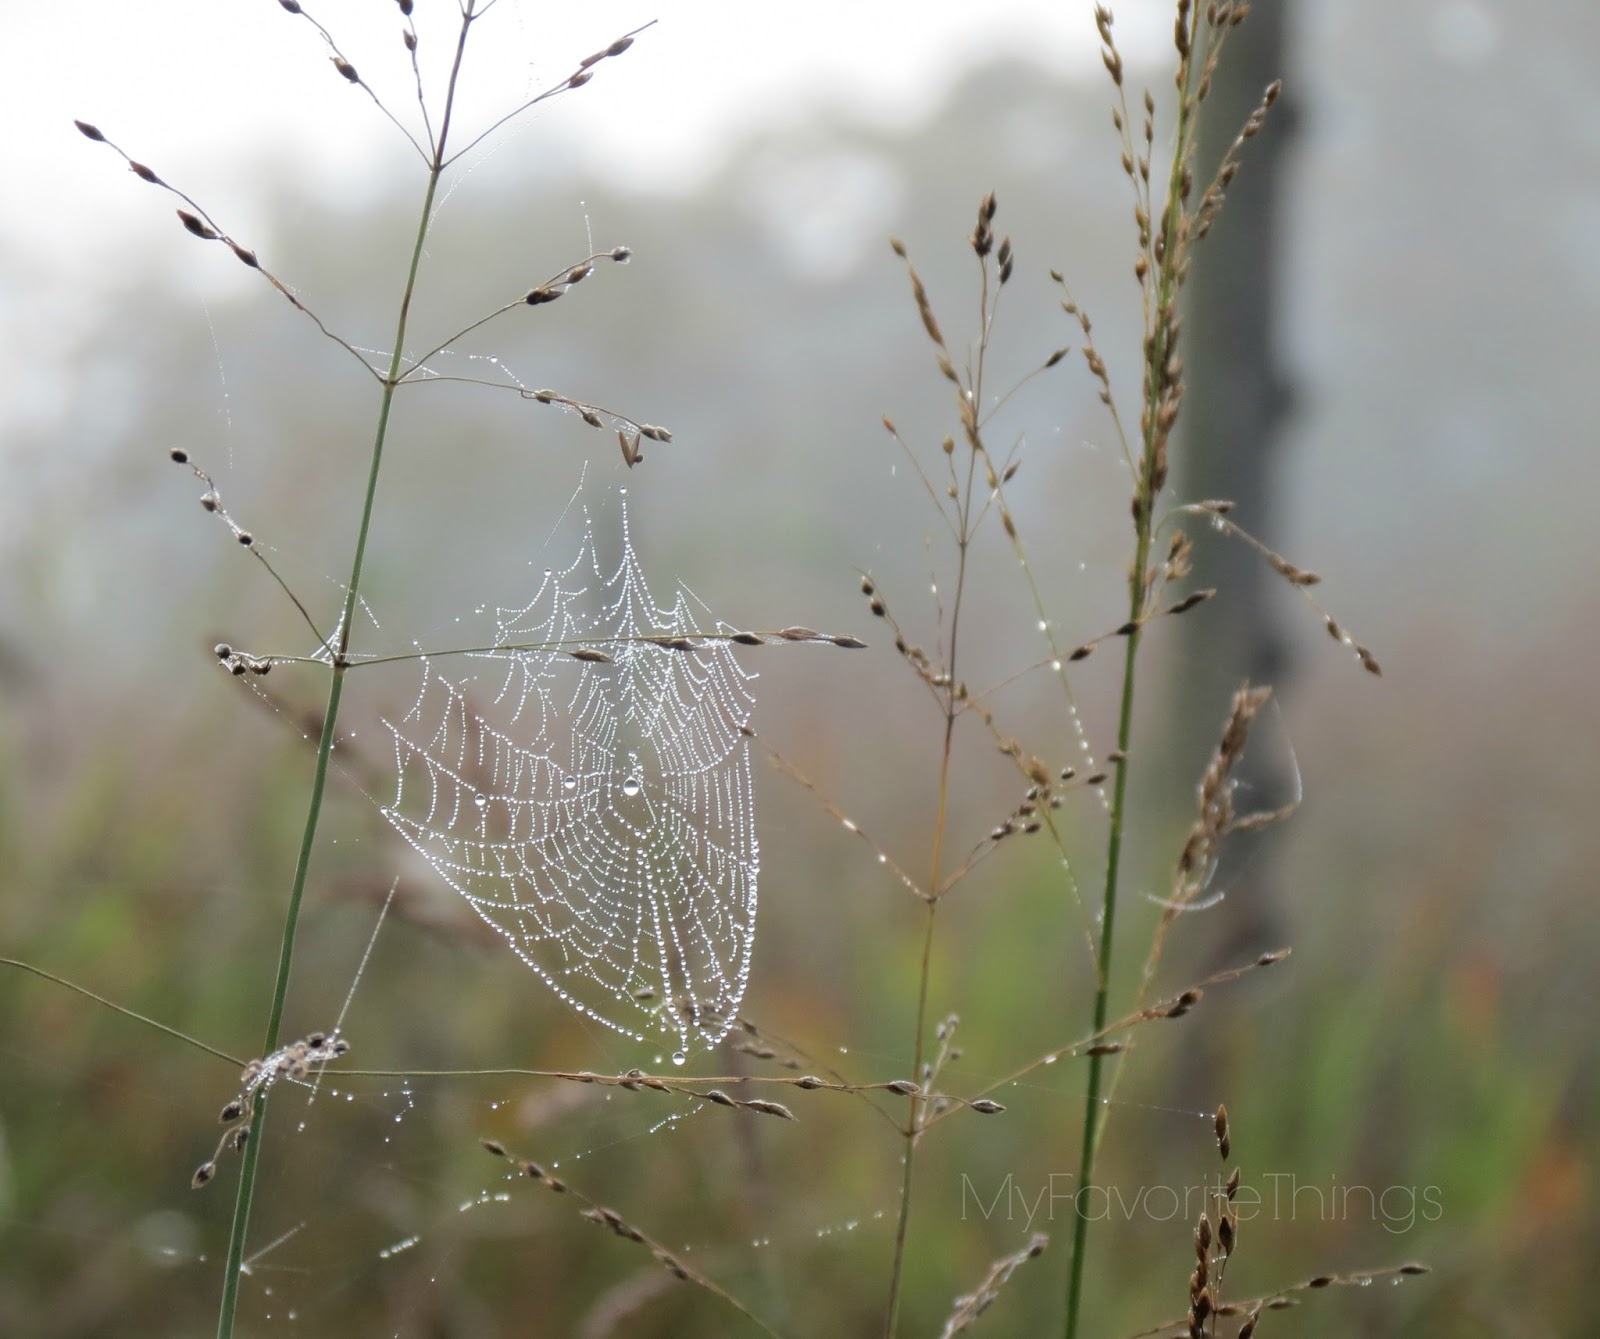
Our lovely local Lake Michael, taken a few years back...

I really need to take a drive out there again soon.

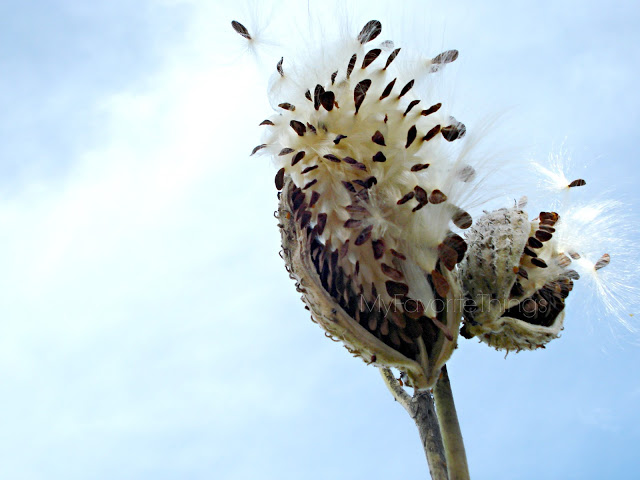
I just love pretty pumpkin stems, don't you?
~
Sooo.... now that we have that out of the way,
I will continue to dream of cool fall breezes and falling leaves until it actually happens.
But until then, I have a little tutorial for you.
And it has nothing whatsoever to do with the autumn weather...or the lack thereof.
I want to teach you how to make a baby!
WHAT?? YOU ALREADY KNOW HOW??
Ohhhh...I'm not talking about that kind of a baby!!
Keep on scrolling and I'll show you what kind of baby I'm talking about.
~
So on Sunday I attended a baby shower for a young mother-to-be at my church.
She was registered at Target but I rarely go according the registry when it comes to gift giving.
I enjoy giving something a bit unexpected but also quite practical.
The idea came to me to construct a sweet little "baby boy" even though she is expecting her own.
It has been twenty years since I made the first one and then several years later, my second.
This is the third one and each time I think I have done something a little different.
Shall we get on with the tutorial?

STUFFED "BABY" GIFT TUTORIAL
(I couldn't think of what else to call it...lol!)
Here's what you will need to purchase...the colors and designs of course depend on whether the expectant mother is having a boy or a girl:
- baby blanket, somewhat plush or bulky (y'all don't want to the baby too skinny)
- Onesies (I purchased a 3-pack sized 0-3 month size...the larger the size, the more "fillings" you will need)
- whatever outfit to dress the "baby" in, same size range...I chose a 2-piece long sleeve/long pant set...easier to form the body in.
- bibs, again I just purchase a 3-pack set but this is totally optional
- a hat or cap...many little outfits come with one
- anything else you chose to add such as a toy (rattle, stuffed animal, teething ring, etc.)
At this point, the choice is up to you as to how much you want to spend. There are many other things you can add inside the clothing (crib sheets, receiving blankets, bath towels, washcloths) or outside (sweater, jacket, shoes & socks, etc.)...this is where you can use your imagination! I believe the first baby I made was stuffed with crib sheets and towels. I actually wrapped it up in the blanket and tied with a bow when it was all put together. Be creative!

I thought the zoo animals were cute so I kept with the theme.
When I came across that darling little elephant, I knew he had to play a part!
Buried deep inside his belly is a squeaker, I think there might be a rattle in his behind
and his ears have crackly plastic inside....he's just a noisy little elephant!

So now let's get started putting this little baby boy together, shall we?
Begin by folding the blanket in half vertically, with the longest measurement going up and down.
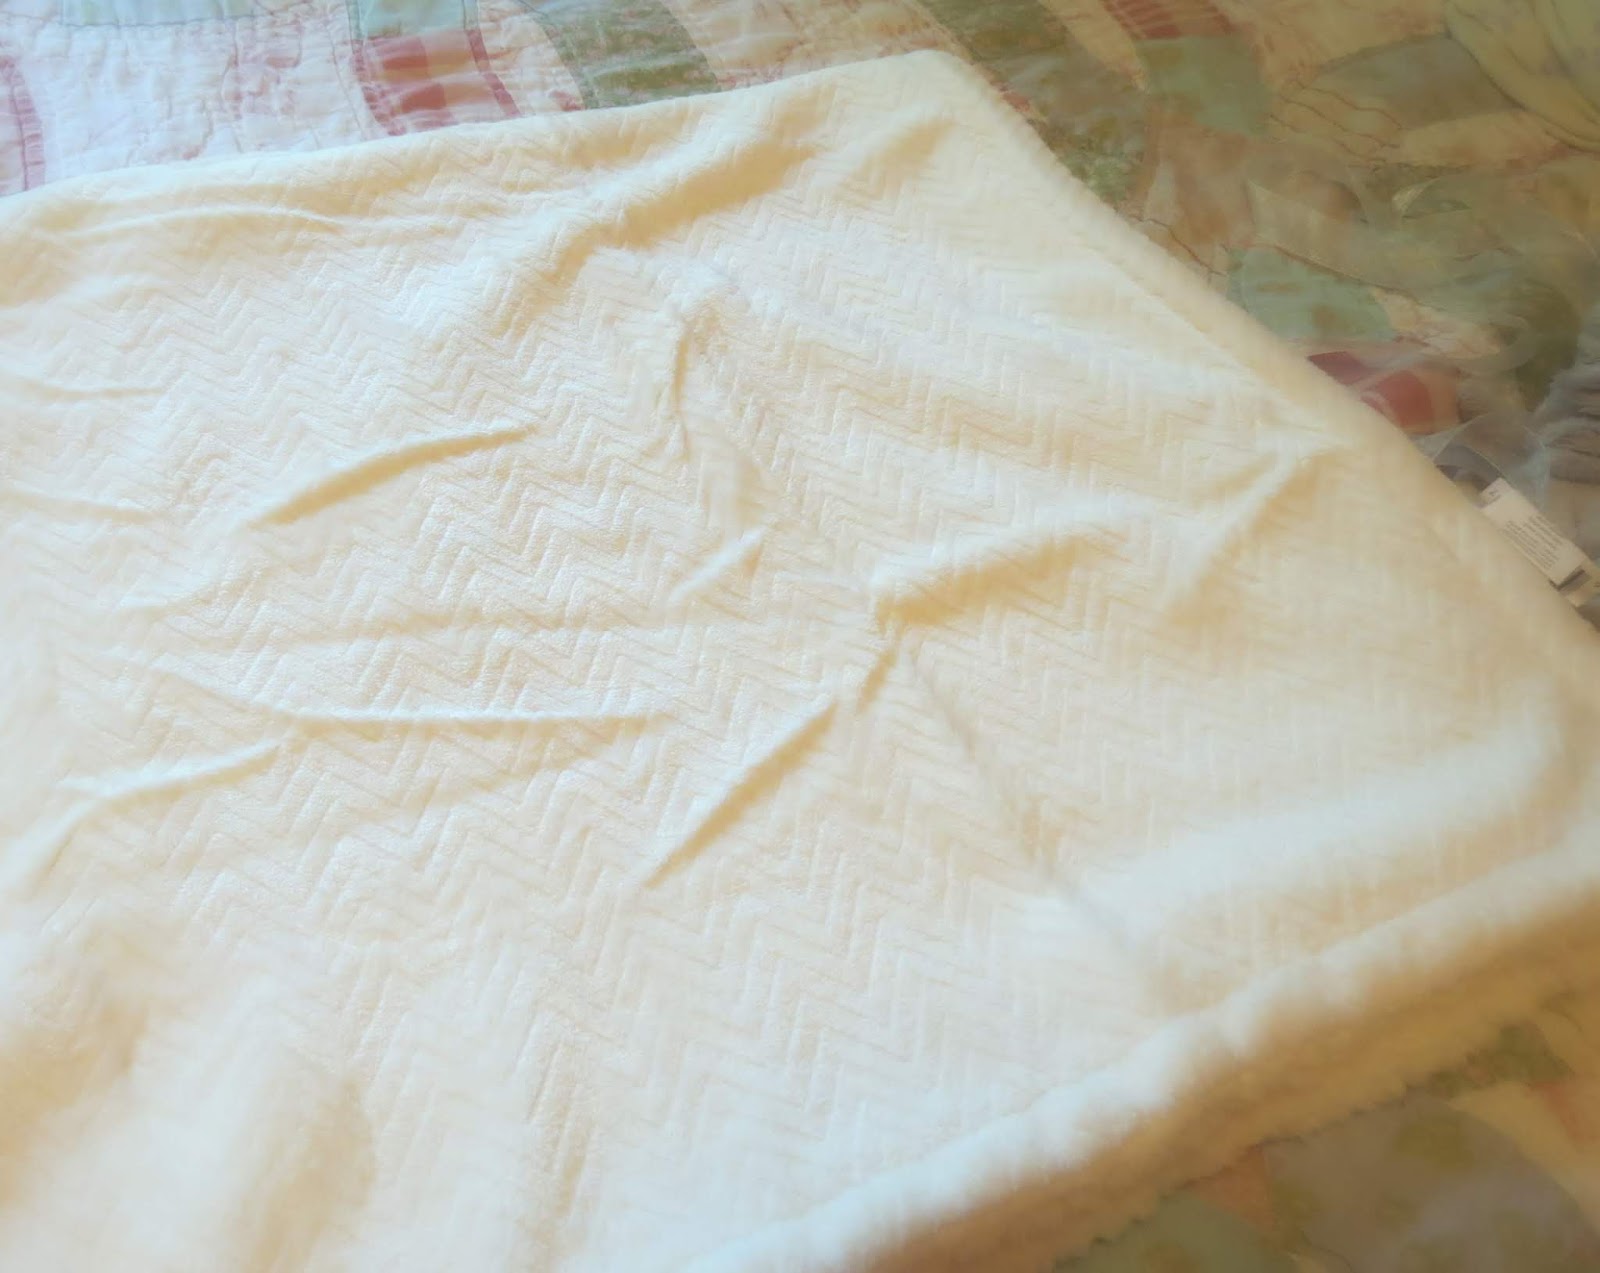
Next, form a ball about the size of an infant's head using batting,
tissue paper or like I did here, using bubble wrap...

...and then place the ball inside the exact center of the blanket.
I used a piece of ribbon to tie around the ball to make the baby's neck.
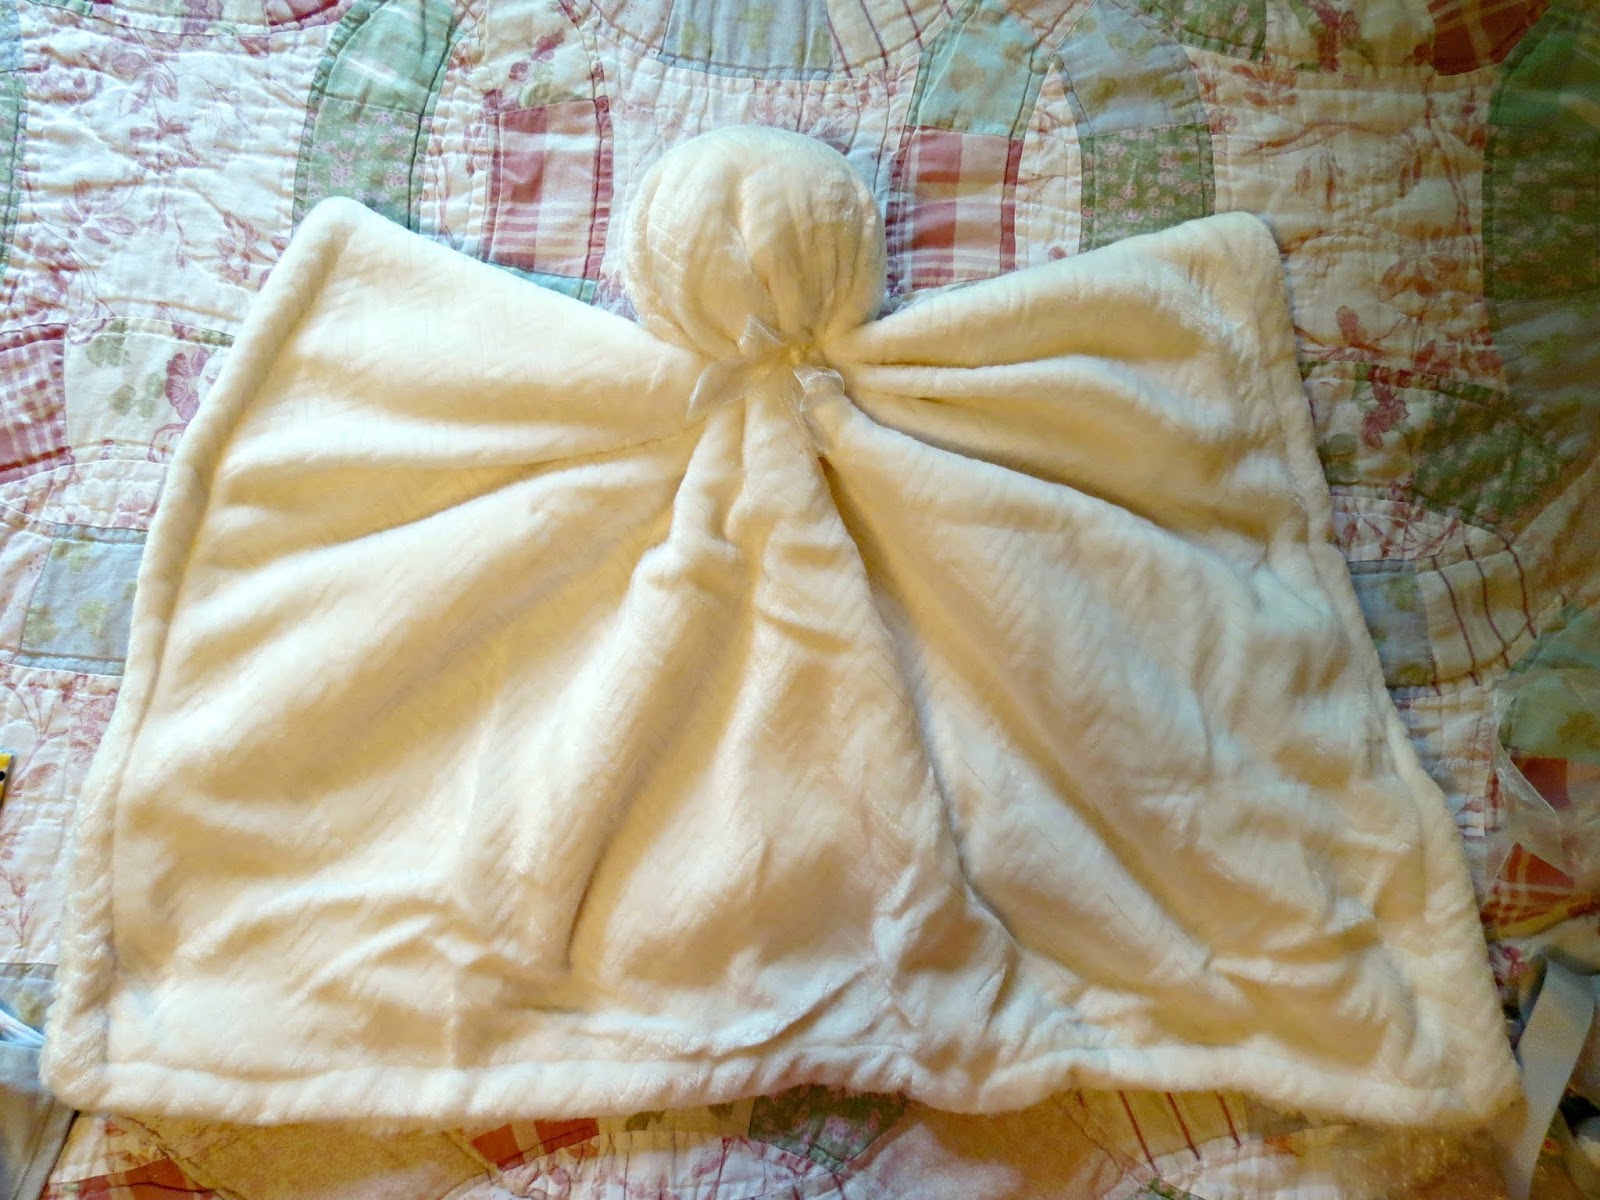
As you can see, the baby is already starting to take shape...
or is that Casper the Friendly Ghost??

Now, using a Onesie, start to create the body by dressing the "baby"...
this will help you to form and shape the arms and legs and then build on that by adding
the rest of your purchased baby clothing and other items.

As previously stated, I bought a three-pack set of Onesies so to help me form the bottom half,
I folded and "hid" the other two in his pants, so to speak...lol!
They basically became...the...crotch...THERE, I SAID IT! 😲


As you can see, it's lookin' a bit more like a baby!

Now it's time to put some pants on this little guy...again, the outfit helps to shape the body.
Work the blanket down into the pants sort of sculpting the legs and feet.
The footed long pants work best and shoes may even be added if you like.

I hid two of the bibs that were in the three-pack underneath his little jacket and then buttoned him up.


He's quite the little chub-muffin, don't you think?
And he's also taking up most of the slack in that little outfit.
No worries though...after a trip through the washer and dryer, it should be back in shape!
And he's also taking up most of the slack in that little outfit.
No worries though...after a trip through the washer and dryer, it should be back in shape!

And now for the hat...

And here he is...a bouncing baby boy!

But I thought he was looking a bit peaked,
so I printed out a cute little face and stuck it on with tape...lol!


There really are no limits to what you can use to construct the baby. When I have made these in the past, I actually stuffed the head with a usable items such as a bath towel or crib sheet. Another cute idea is to also find a stuffed animal about the size of a baby and dress it all over with baby items which can then be wrapped up in a gift blanket. No matter what you decide, just have fun with it and I will promise you that he or she will be the hit of the baby shower! And the look on the little mama-to-be's face will bring joy to your heart!

And the best part is that no wrapping is necessary!
~
Now, go on out there and enjoy your October!

Now, go on out there and enjoy your October!